Unordered List

Follow on Bloglovin

Thursday 12 February 2015

Jewelry boxes' new life

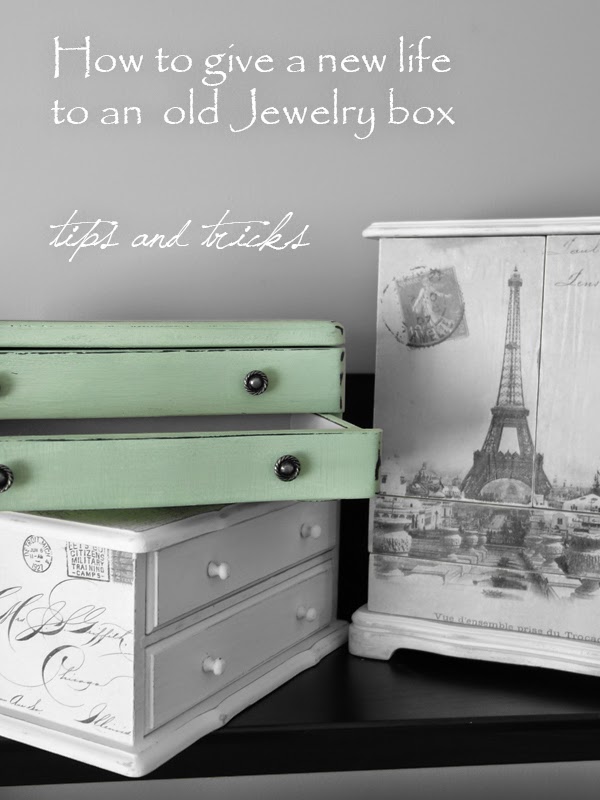
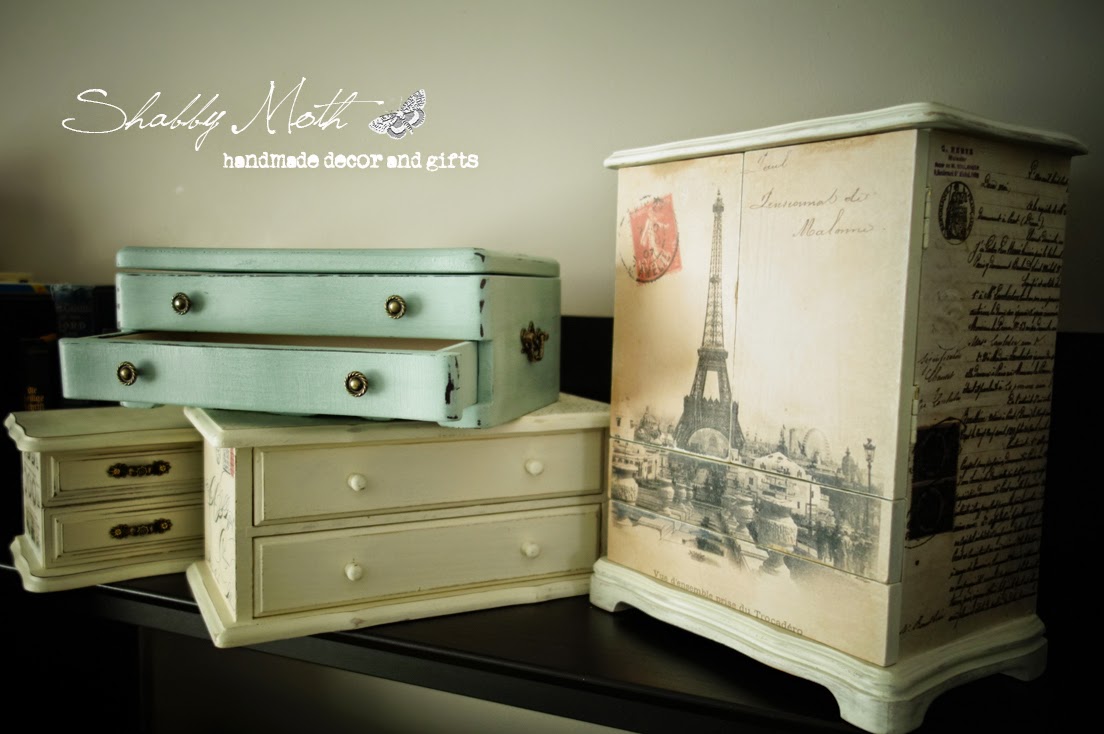
Upcycling jewelry boxes

tips on how to fix hardware issues and dirty liner

I was busy working on the jewelry boxes lately, those are fun to paint and it is so nice to know somebody can use them again, this time with a style. 

First thing to do when I choose a box to decorate is to check if all the hardware is in a good condition, if it is loose I tight it and sometimes it takes some more fixing if screws keep spinning & not holding on anything. To fix this problem I remove the hinges and fill the screw hole with some spackling, then wait when it dries, place hinge back and you are good to go. 
Sometimes I use boxes in a very bad shape for spare parts. 

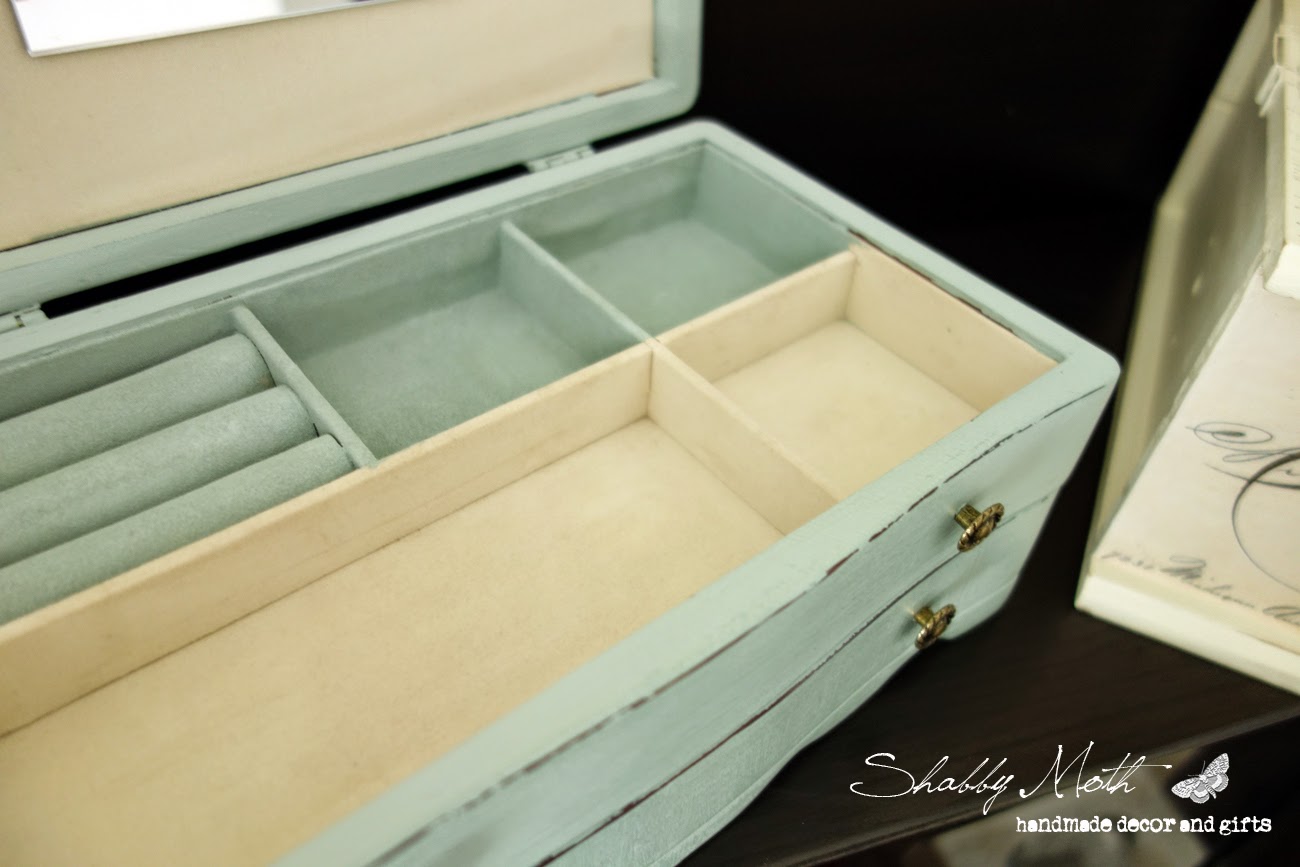
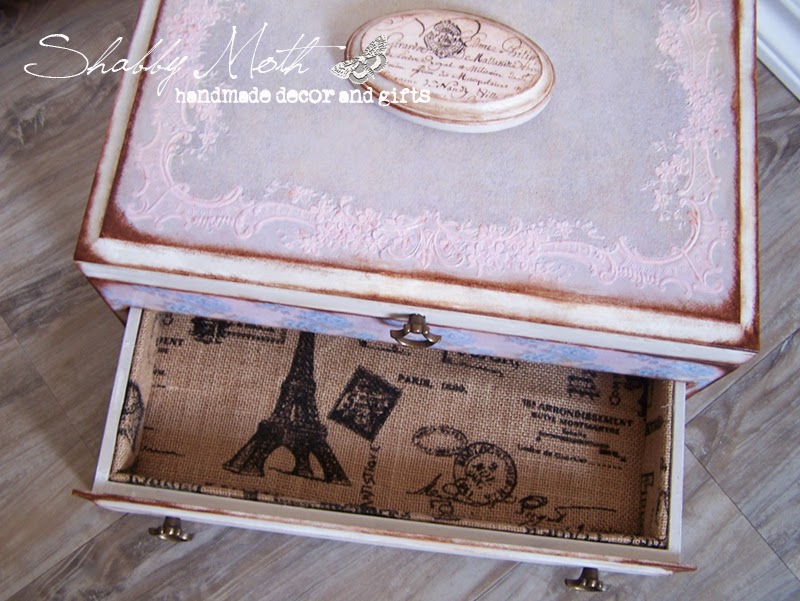
The other issue with the old jewelry boxes is dirty liners inside. I found solution for that. I use chalk paint and paint either the whole drawer or some section of the liner like I did in the box on the picture below. 

Before painting or if you decide not to paint you have to vacuum the drawers and if this doesn't help use the painter tape or other sticky tape to collect dust and other dirt from the fabric. It works. 
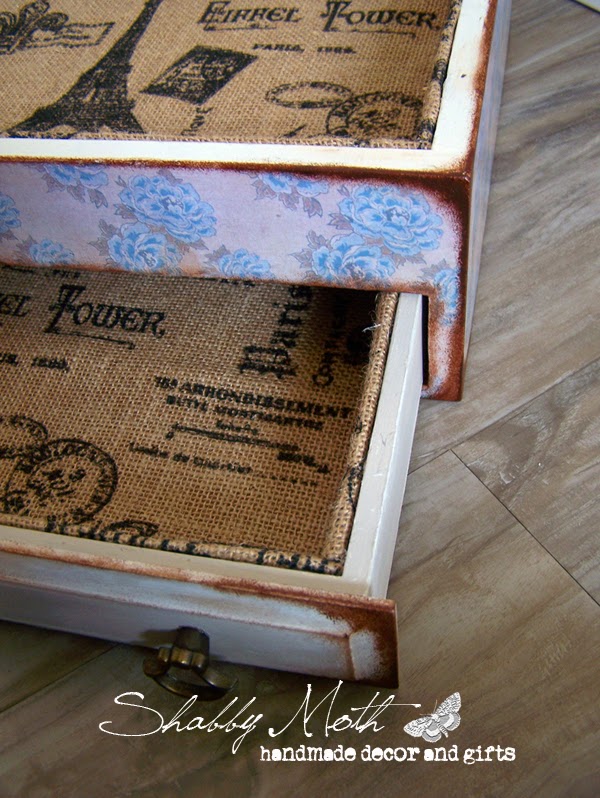
If the liner is in a bed shape and even coming off the drawer I replace it with other liner such as burlap. I hot glue burlap onto the piece of cardboard shaped like the drawer's insides and then glue them inside the drawer.  Example is on the pictures below:


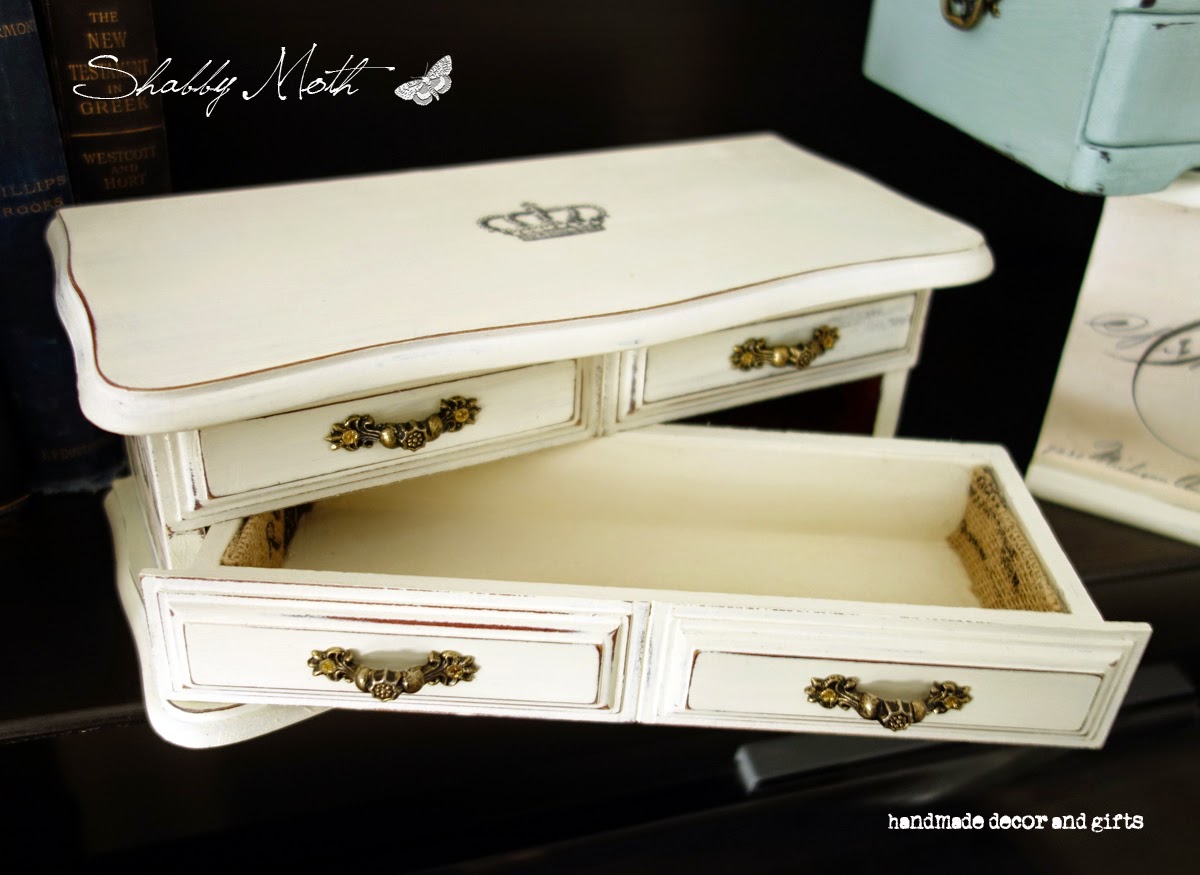
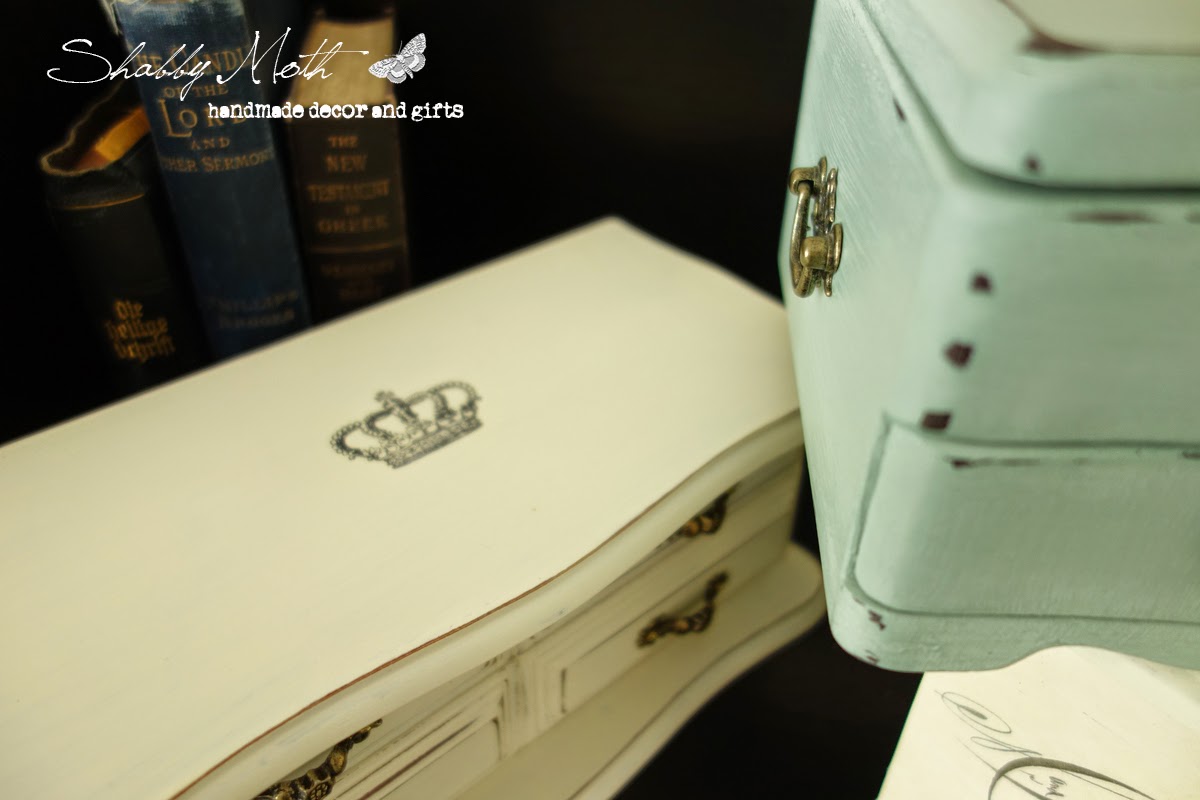
I am usually using chalk paints for the boxes, they are fun to work with and you can make the box feel really smooth for touch by sanding the surface slightly. I also love how the clear wax gives them velvety feel with a bit of shine. You also can distress easily with the chalk paint, additionally I use some antiquing mediums or technics for vintage look. 
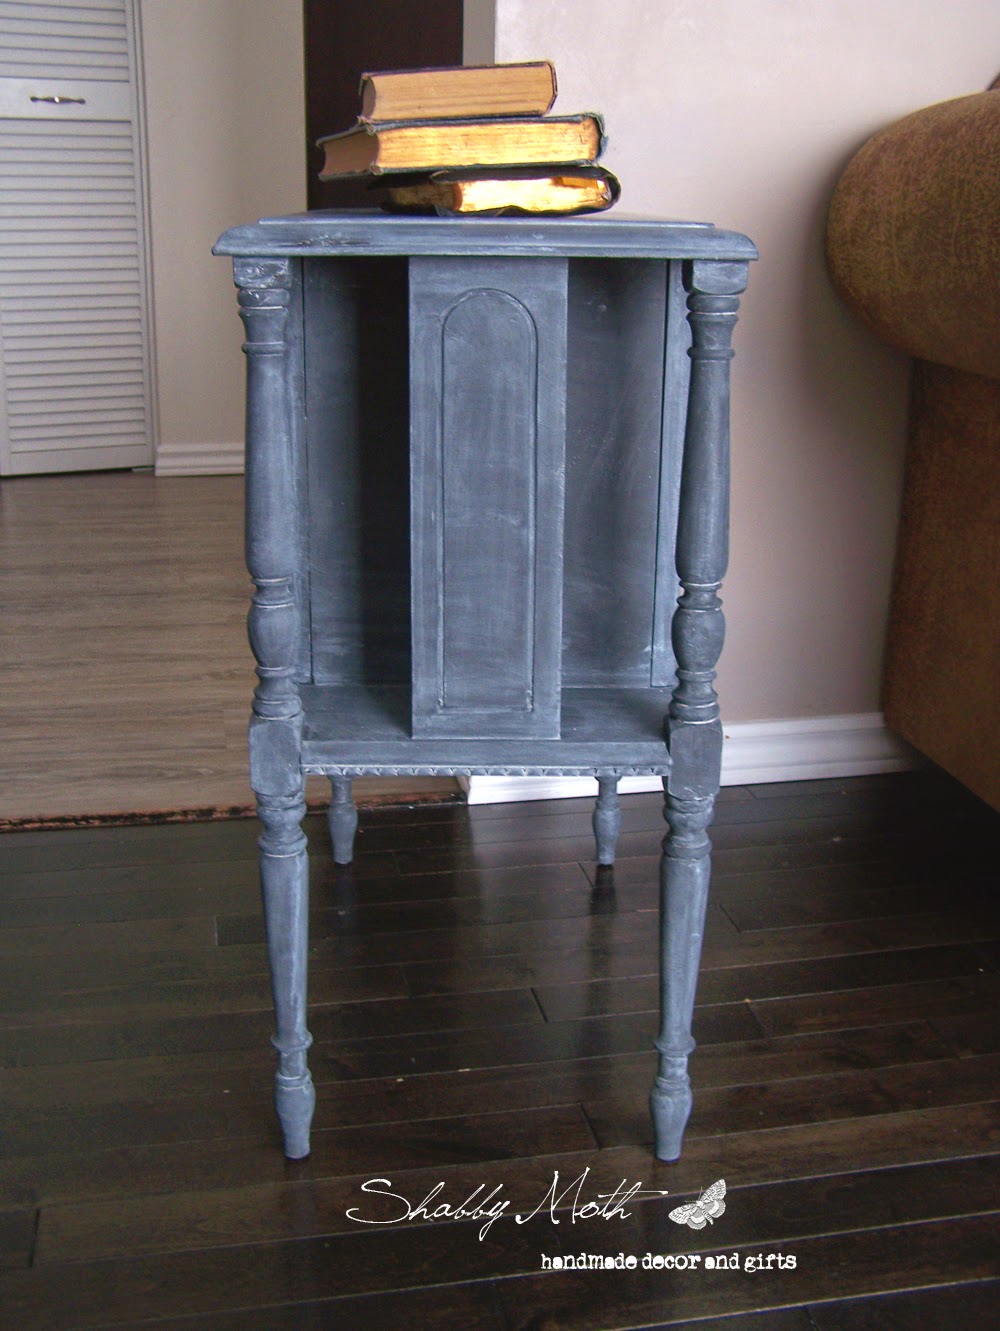
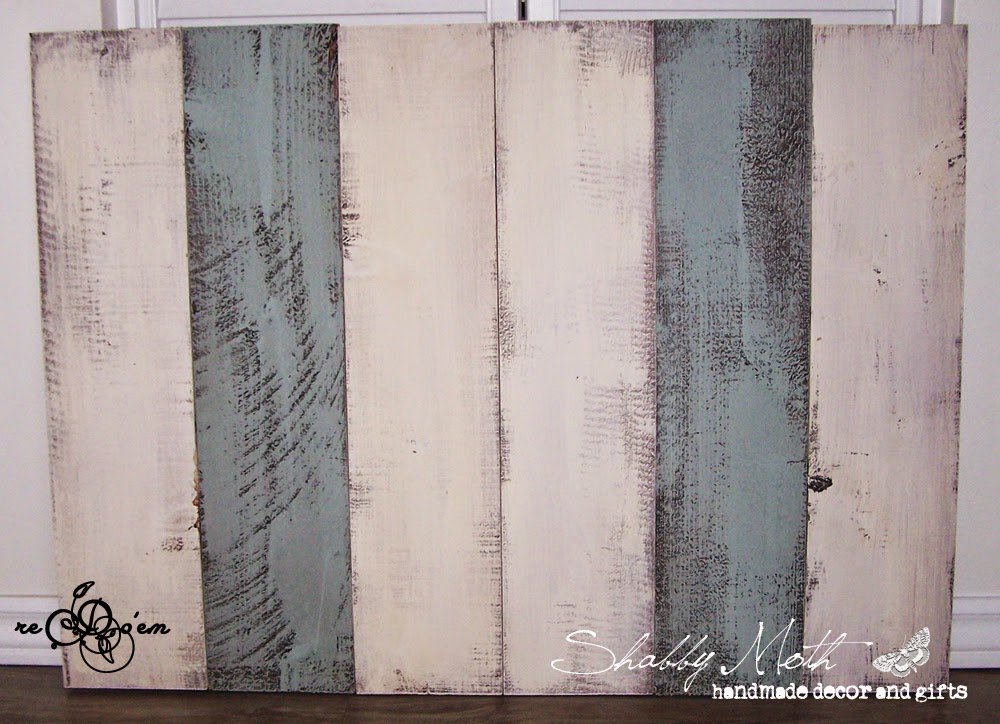
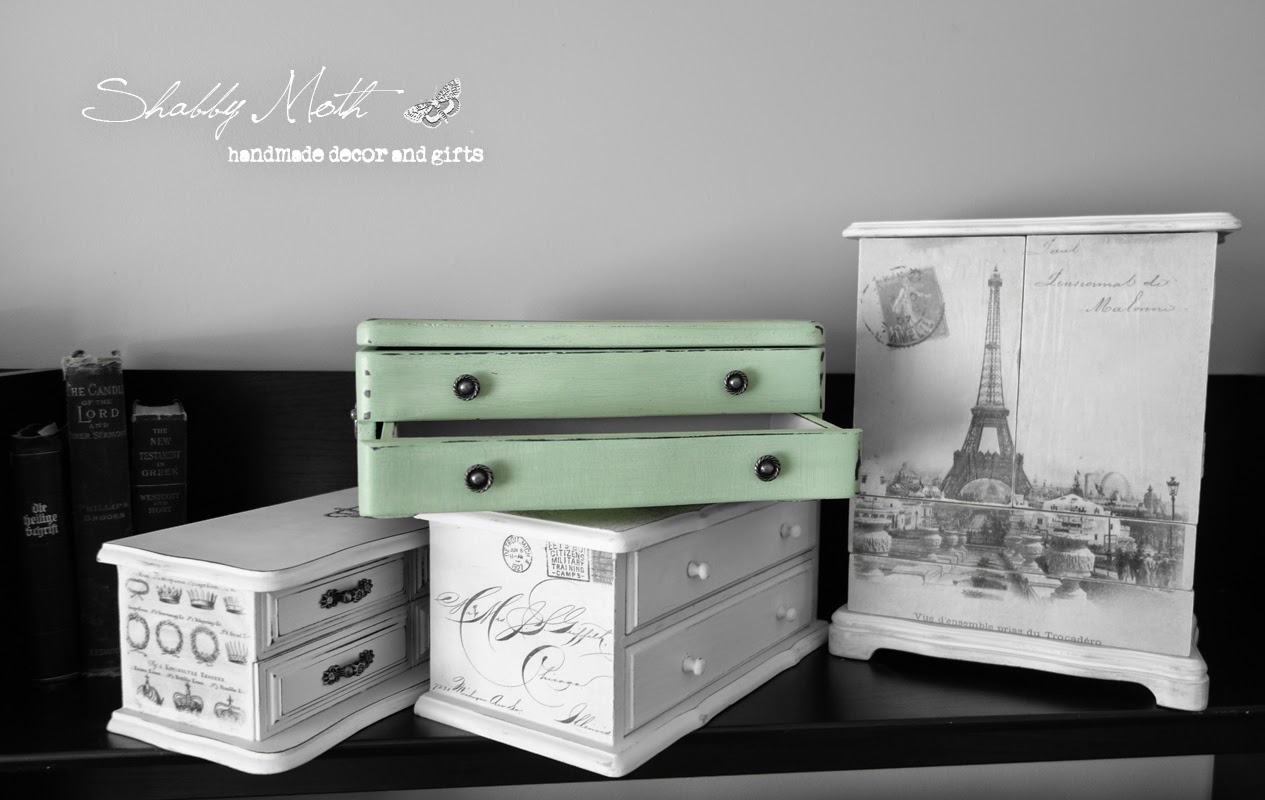
Here are more of my works:


Hope you enjoyed. Please share, comment and visit my facebook page Shabby Moth for more inspirations and ideas.

Friday 5 December 2014

Painted "Gibbard" side table

Paint and whitewash

Beautiful little table got even more charm. The table is solid walnut and has it's own character, I liked it right away when i saw it in the store. Now I've done painting it and I am quite satisfied :) The colour i used called relic and it is Decor art chalky paint, which I am getting to like more and more. After paint I applied Annie Sloan clear wax, and after all I used whitewashing technics to add antique look to it. It worked out good, you can imagine the table made out of stone with white patina.

Above are "before" & "after" pictures. And here are some more:


The label inside says "Gibbard. Solid walnut, furniture shop, established 1837, Napanee, Canada". Cool, isn't it? 

To make a whitewash you need to add water to paint to consistency of light cream, but not too runny, and with a brush apply to the surface, than in a minute wipe it all up with the rag. Wiping should go in the same direction. If you prefer thick wash (more colour) wipe in 3-4 minutes. Make sure you don't leave unwiped patches anywhere, that doesn't look natural.

 This item is for sale for local Edmontonians :) See my facebook page for contact:Shabby Moth and reDOem

Wednesday 26 November 2014

Vintage holiday decor

Easy tree ornaments made from dictionary pages

Holiday season! And I am here with my hand decorated ornaments I made a year ago. Probably won't show you anything new, but you can grab the idea for your holiday project or just for a craft with children. They look great on the tree - instant vintage look!
 

To make them I used  plastic balls like these:
So "before" ornaments weren't even with the smooth surface.  All the other materials you need are an old Webster dictionary that you can find in any goodwill or thrift store and a Mod Podge glue. First you will have to rip or cut dictionary pages into small stripes or any other shapes {ripping will give you thinner edges which helps better attaching and smoother transition from piece to piece}. Then just brush the glue onto pieces {both sides} and start covering the ball all around {you can put glue on the ball too}. You will get the creative mess on your working space but result is worth it :) 

To decorate more I cut off the dictionary illustrations and glued them on the ornaments. I think the pine cones look especially great for the occasion :) 

LIKE on facebook to see all the inspirational posts and tutorials Shabby Moth & reDOem

Monday 10 November 2014

DIY backdrop or how to make barn wood

How to make backdrop or barn wood quick and easy! 

{basic photography tips for handmade products}

I think this tutorial will be very helpful for crafters who are opening their online shop for the first time. To have a success in sales you need to present your product in the very best way; if you don't have a great pictures, I mean "wow" pictures, you can just give up the idea of selling online. I work on it right now, trying to do my best and still learning. There are basic rules to follow:
  •  Invest in tripod, shouldn't be the most expansive one: buy used one or ask friends if they have one they don't need. It almost impossible to make image absolutely clear without tripod. 
  • {here are lots of choices}
  • Use a white sheet of paper for backdrop, it changes quality of pictures instantly and brings it to the new level too.
     See how I made a progress using white paper as a backdrop in this post
  • Use indirect sun light, to avoid strong shadows. Natural light is a must and is the best! - unless you are professional photographer :) 
  • Use decorative backdrops and other objects that are in the same theme group to attract your customer by showing how the product fits to interior. For example (bucia.livemaster.ru) : 

So today I want to show you how to make such a backdrop very quick and easy using faux barn wood! PIN now and do it tonight :) 
To make it you will need:
  1. Cedar planks, pick the "ugliest" one with chips and wholes
  2. Dark wood stain
  3. White and blue chalk paint (can be any paint you have)
  4. Two small skinny planks to attach wood pieces together 1x0,5 inch. 
  5. Screws and screw driver or drill. 
Depending on the size of the backdrop you want pick your planks in the local hardware store. Cut them in needed amount of planks.
Then stain both sides and the visible edges of future product with the old sock or something like that. Don't forget rubber gloves to keep your hands clean. When stain is dry apply paint roughly with a brush , don't care about accuracy here. Make sure you leave the stain peeking through, especially on the edges. Look the picture below. This way you won't need to sand it later, which cuts the amount of  time you use.
Now do the same but  with different colour on the other side of the planks.I used duck egg blue and old white. After the paint is dry attach boards together with 1x0,5 in planks. See the picture below. I found screws that were bluish colour already, probably some anti-rust coating, and this was handy :)
You can play with colours and patterns, I liked mine like as it is. Plus you can use both sides. You can do all blue side and all white side as well. 

And here it's done. 
LIKE and Follow my facebook page for updates and inspirations: reDoem & Shabby moth 

How do you improve your photos? Are you a handmader with the online store, share your experience, please!